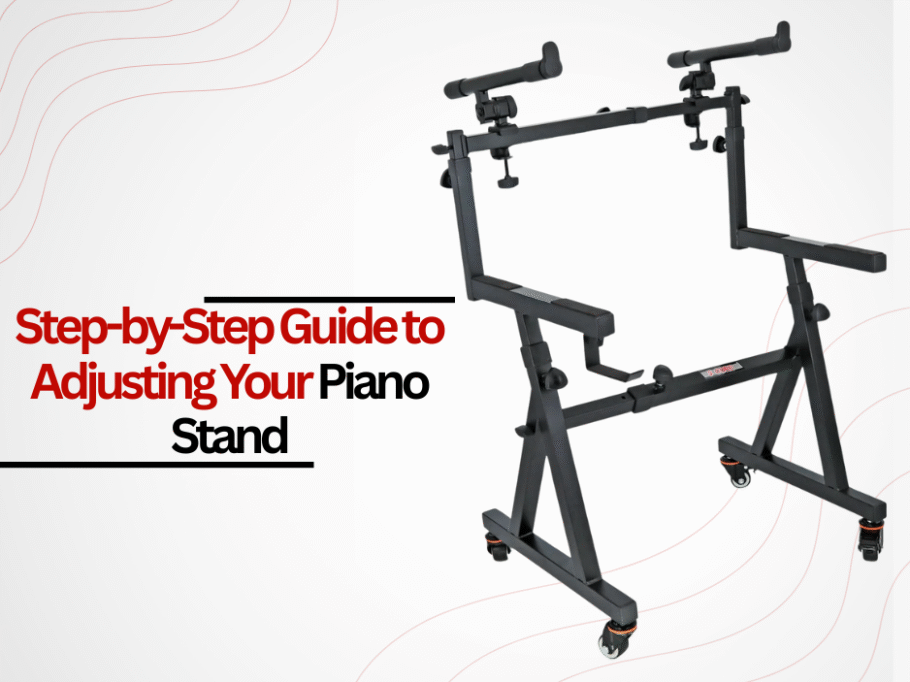
An adjustable piano stand is critical for comfort, ease of performance, and safeguarding your gear. This piece evaluates the processes involved in adjusting a piano stand. This article’s focal points include customization of stability and level of height. In a studio or live performance setting, customization ensures that the keyboard is held in a fixed position at the right height and angle. Compliant with the ergonomic industry standards relative to keyboard stand height tutorials, users will experience reduced physical and postural strain in addition to an optimal playing distance. This article explains the different options for customization that can be tailored to suit individual preferences.
To know more, Read: How to Set Up Your Keyboard Stand for Optimal Performance in 2025
1. Workspace Preparation
Environment Evaluation:
The floor beneath the stand must be checked for stability and evenness. Uneven surfaces can result in wobbling, and soft carpeting might reduce traction, causing unwanted shifting. Where necessary, non-slip pads or floor mats may be applied. By providing a flat and reliable surface, the keyboard stand will perform stably, while the chance of accidents or alignment misadjustments during play is greatly minimized.
Clearing Constraints:
Keep the area around your keyboard stand clear of any objects that could block access to controls, pedals, or cables. An unobstructed setup ensures smooth height adjustments and optimal ergonomics, allowing you to focus fully on your performance or practice.
2. Setting the Height Properly
Posture Alignment:
Proper stand Height alignment is crucial for a comfortable playing experience. When seated, the keyboard should sit at the level of the elbow while the forearms are parallel to the ground. For standing users, elbows should be free to move and the top of the keyboard should rest at elbow height.
Using Telescoping Features:
Many modern keyboard stands feature telescoping legs for easy height adjustment. Always study the instructions provided by the manufacturer first. Loosen the adjustment knobs, set the legs to your preferred height, and then tighten the knobs securely. Double-check stability before placing your keyboard on the stand.
3. Adjusting Tilt And Angle
Reducing Fatigue On The Wrists:
A small elevation of between 5 – 10 degrees places the body of the keyboard in the front relative to and enhances alignment with the wrist, which reduces fatigue during long sessions. Avoiding extreme tilts is critical, as they could lead to shoulder discomfort and restricted movement of the fingers.
Locking The Angle in Place:
Use the built-in clamps or locks to set it after moving to the required angle. Press the edges of the spanning on the keys lightly to check if the keypad’s edge does not slide and the changing tilt remains unmoving during play.
Need this in bulk? You can get this from wholesale – keyboard stand
If you need this at the best prices, you might check out this new platform – keyboard stand
4. Securing the Stand
Balancing Weight Distribution:
Heavier keyboards require stands with crossbars or reinforcements at the base. Ensure that the weight is centered, especially during dynamic performances, to avoid tipping.
Anti-Slip Modifications:
Silicone grips and rubber pads can be added alongside the keyboard’s area of contact with the stand to increase traction. On uneven surfaces, adjustable leg levelers assist in achieving a balanced position, thus reducing any movement while playing.
5. Customization of Accessories
Pedalboard Attachment:
Fix expression or sustain pedals directly to the stand using Velcro strips or brackets. Ensure that all untidy cables are neatly fastened to prevent tripping.
Holders Integration:
Slots are provided in several stands for tap holders, microphones, and music book holders. Ensure that these are mounted within hand’s reach for efficiency.
6. Carrying Out Repairs Safely
Component Inspection Check-Up:
Thoroughly inspect screws, joints, and movable parts every month for tightness and wear. Apply silicone spray to moving parts to ensure lubricated and smooth action.
Best Practices For Storage:
Remove the collapsible stands and store them in an area with no moisture, sheltered, cool, and dust-free surroundings. Use coverings to prevent dust and moisture from settling on the stands.
Conclusion:
Adjusting a piano stand requires an ergonomic evaluation and stand customization craft, set to perform as a singular unit. When focusing on how to best optimize height, tilt, and stability, each musician is able to shift their environment to enhance comfort and performance.
Ever enhancing their designs to enable easier adjustments for all skill levels, brands like Roland, 5 Core, and Chromecast are working as adapters of setup strategies, ensuring preparation for the unforeseen future; unpredictable, but assuring evolution over time is inevitable and advantageous. Be it on stage or in a studio, a perfectly arranged stand comes in handy for effortless performances and is therefore essential.


